
You picked October to visit Boston and expect bright reds, oranges, and those classic cobblestone streets. The catch is that timing, light, and some basic choices matter more than luck. Pick the wrong week or hour and you get half-bare trees, blown-out leaves, or crowded streets. These tips keep what you already have, but point out the practical checks and trade-offs you actually need to make.
When the colors really peak in Boston, and what to check first
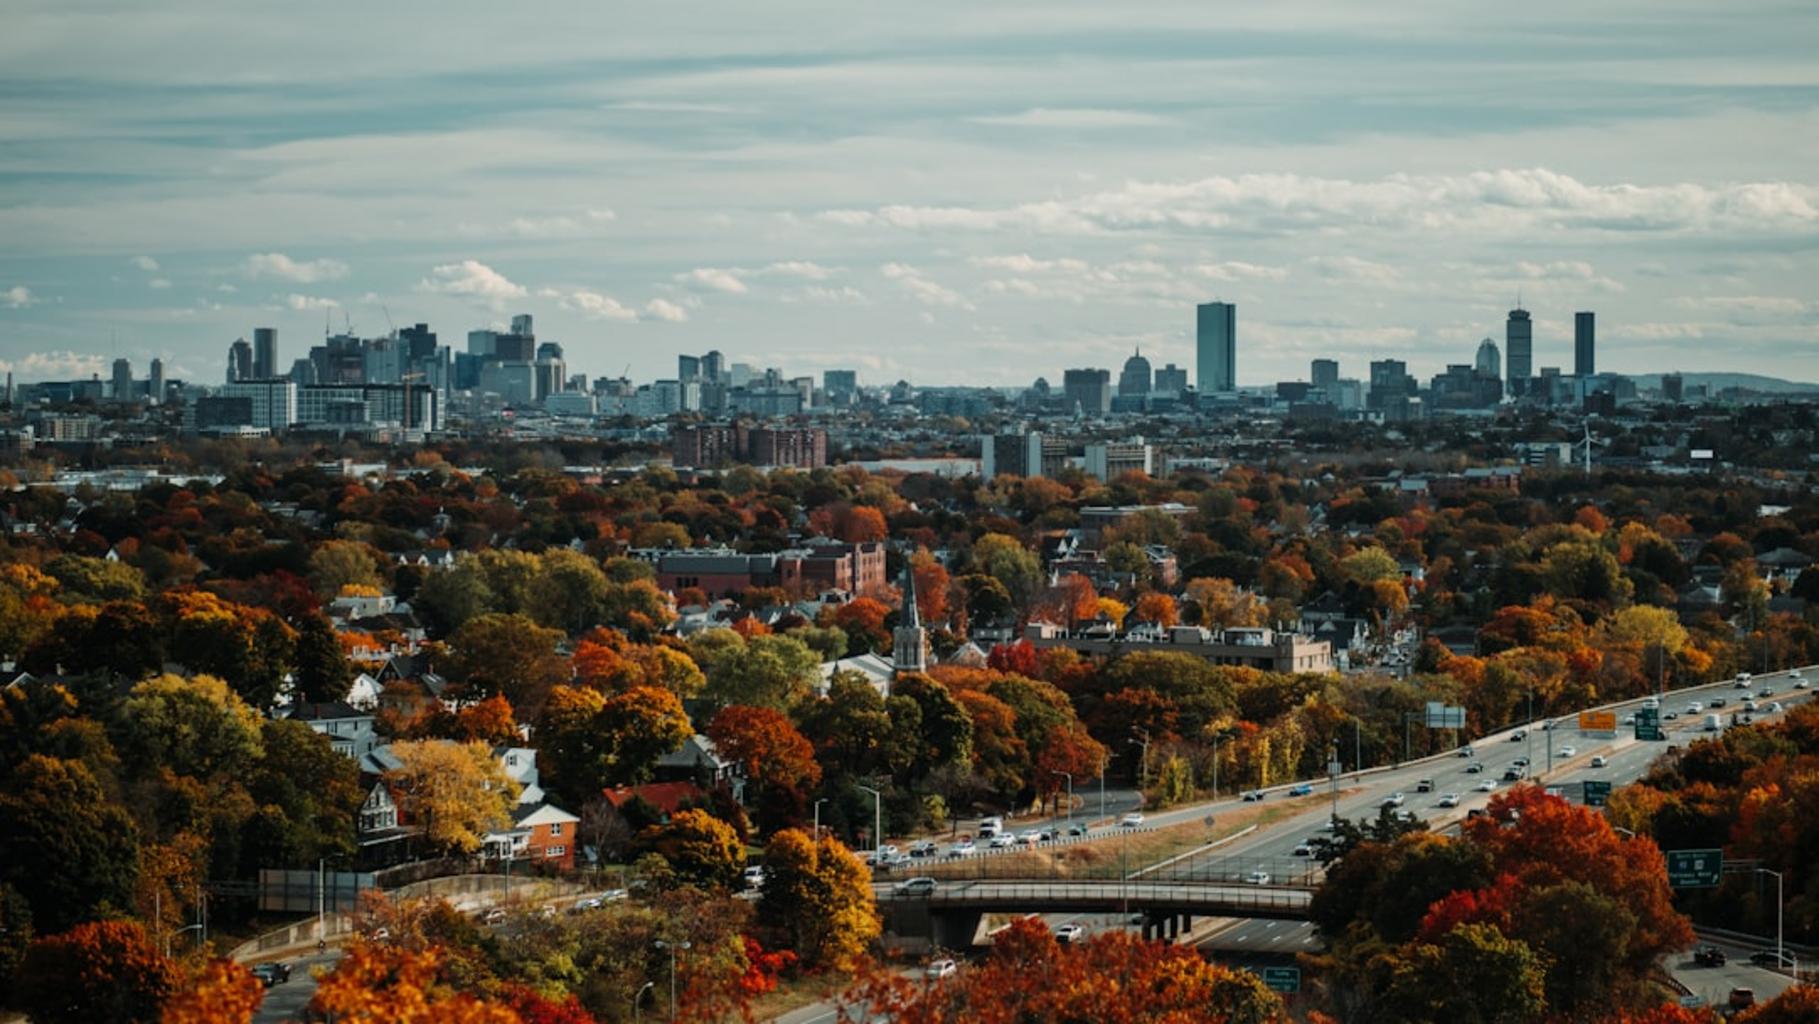
Fall color in Boston usually peaks between early October and early November, with the third week of October often giving the best chance at full color. Summer heat, late rain, or an early frost can shift that window, so treat the schedule as a moving target.
Before you leave, check a few things: local foliage trackers and recent photos, for example Roaming Boston at https://roamingboston.com/fall-foliage-in-boston and Boston Discovery Guide at https://www.boston-discovery-guide.com/boston-fall-foliage.html, short-term weather for wind or rain that can strip leaves, and park hours or transit alerts since places like the Arnold Arboretum close with daylight. Different species peak at different times, so plan a flexible window instead of betting on one day.
If you need guaranteed peak color for a wedding or paid shoot, consider higher-elevation spots outside the city like the White Mountains or the Berkshires, where timing is more predictable.
Gear and settings that matter for fall travel photography in Boston
You do not need the most expensive kit. Use what matches the shots you want, and leave the rest at home if you plan to walk a lot.
Think about lenses first. For wide streets and tree canopies a wide-angle such as 16 to 35mm on full frame or 10 to 22mm on crop gives the sense of space. For portraits or detail shots a 50mm or 85mm prime helps isolate leaves and faces with a shallow depth of field. If you want reflections or long exposures bring a tripod, and a circular polarizer is the easiest pickup for cutting glare and deepening blue skies.
If you prefer a quick list, these are the useful options to carry:
- Wide angle for avenues and canopies, a prime 50mm or 85mm for portraits and details, a tripod for reflections and low light, and a circular polarizer to control glare.
After you pick lenses, decide how much you want to carry. A light mirrorless body plus two lenses will let you walk Beacon Hill or the Arboretum all day without feeling weighed down.
Settings that work for typical fall scenes are simple. For golden hour street scenes try shutter speeds from 1/100 to 1/500 handheld and apertures around f/4 to f/8. For reflections use a tripod, slower shutter speeds, and exposure bracketing if the sky is much brighter than the water. For high dynamic range situations bracket 1 to 3 stops and merge later if you need detail in shadows and highlights. People often overexpose bright leaves or rely on automatic modes, so check your histogram.
Composition and creative techniques that work on Boston streets and parks
Boston’s brick, gas lamps, and narrow lanes do more than look pretty. Use them to tell where you are. Line up buildings, doorways, or a row of lamps to add context, and look for the plain surfaces that make leaf color pop, like neutral bricks or gray cobblestones. Leading lines work well; shooting down Commonwealth Avenue Mall or Charles Street pulls the eye through the frame.
Reflections on the Public Garden lagoon or the Charles River Esplanade make simple compositions much stronger, especially at sunrise when the water is calm. For foreground interest, leave a single leaf or an interesting cobble in the frame to add scale and depth. Shooting wide gives context, but small subjects get lost, so swap to a tele or move closer for details.
Waiting for a clean foreground and an empty background takes longer than people expect. Early morning helps, but it means an earlier alarm. If people keep walking through your frame, either change angle, embrace the motion with a slower shutter, or wait for a gap.
Best places to shoot in Boston, and how to use them
Beacon Hill offers narrow brick lanes, gas lamps, and classic doorsteps. Go in the early morning before shops open. Respect residents, do not block walkways, and avoid private gardens.
The Charles River Esplanade is good for reflections and skyline shots framed with trees. Golden hour gives warm light; cloudy days give even tones. Try shooting from bridges for a skyline framed by foliage.
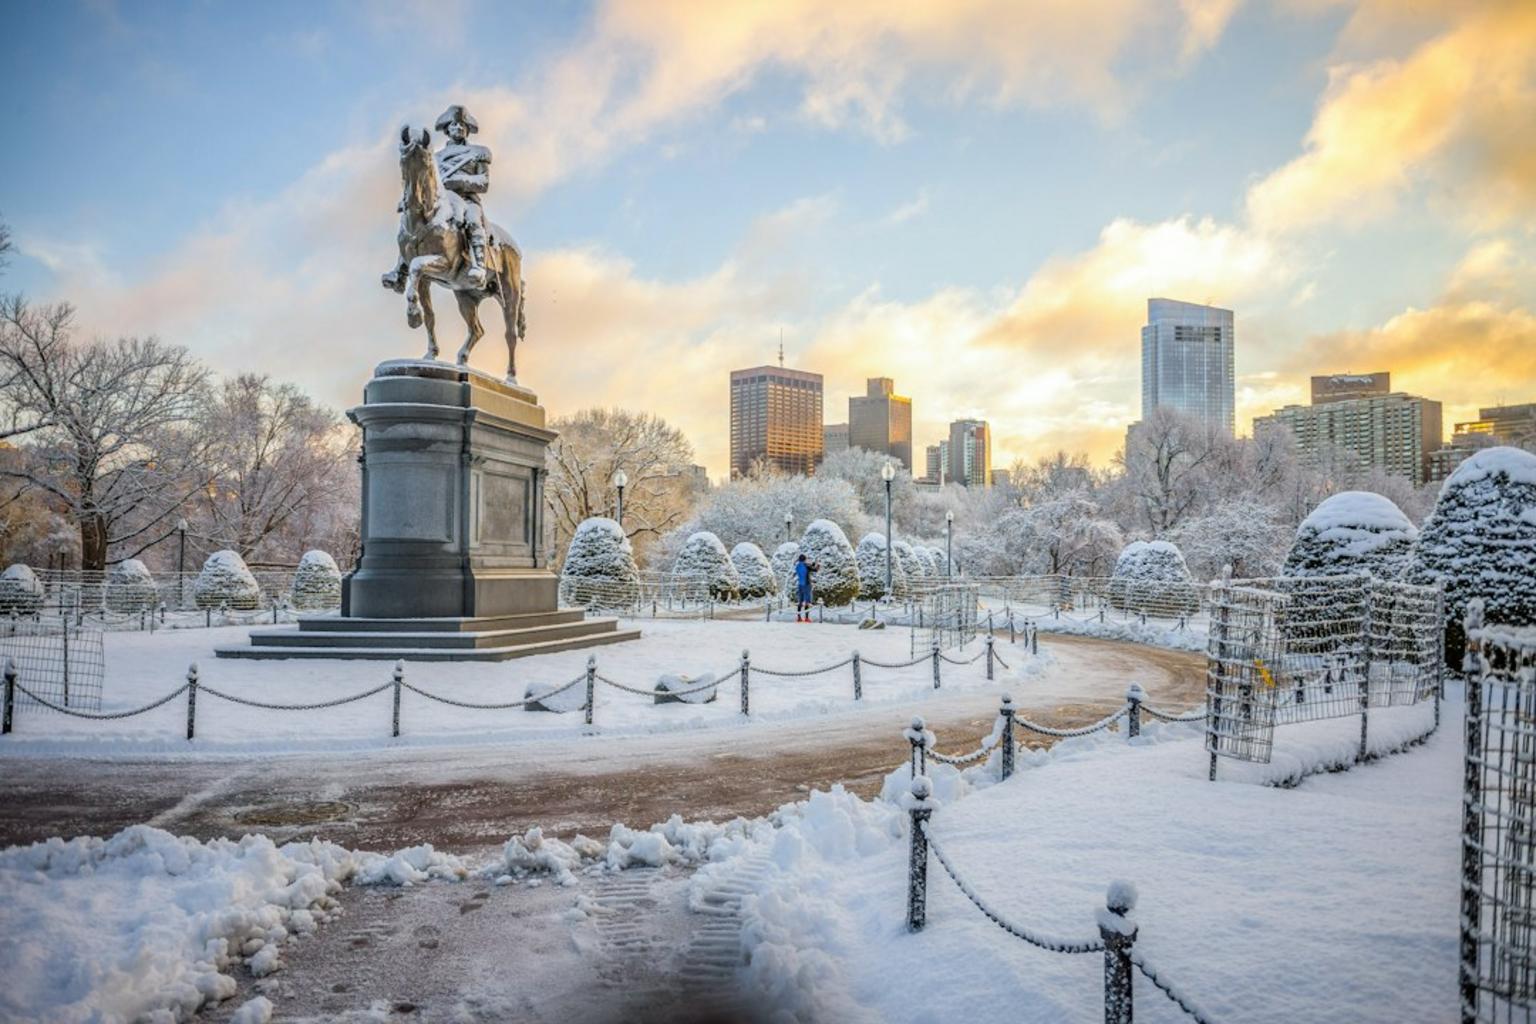
Public Garden and Boston Common provide lagoon reflections and weeping willows. Sunrise brings smooth water and far fewer people. A polarizer can reduce glare when the sun punches through.
Commonwealth Avenue Mall gives a long canopy and a row of statues that create rhythm. Vertical frames and shooting straight down the path work well for depth.
The Arnold Arboretum has many species and views from Peters Hill, which are useful for wider landscape shots and varied color palettes. Check guided tour times if you want botanical labels or extra context. Other spots to keep in mind are Back Bay Fens for late blooms and Jamaica Pond for calmer water reflections.
Before you go, check the nearest T stop and where you could park if you drive. Some areas are much easier to reach by subway than by car.
Shooting in sun, clouds, rain, and fog
Match the shoot to the weather rather than forcing one plan for every condition. Bright sun gives contrast and saturated colors but risks blown highlights. In hard sun move to shaded sides of streets, use a polarizer, or use fill flash on people. Cloudy skies give soft light and even color, which is great for close-ups and reflections, but backgrounds can look flat so lean on textures like brick and leaves for contrast.
Rain and mist make leaves shine and cobblestones reflect, which can be very moody if you protect your gear and keep a microfiber cloth handy. Fog early in the morning around the Public Garden and Esplanade adds atmosphere but lowers contrast, so expect to raise ISO a bit or use a tripod.
People tend to underestimate how quickly conditions change a few blocks apart. Carry a small weatherproof bag for quick swaps and a rain cover for your camera.
Post-processing that keeps photos natural
Small, local edits usually look best. Start by checking white balance and nudging it slightly warm to emphasize golds and reds without going overboard. Use vibrance rather than saturation to boost muted colors without making skin tones look odd. Sharpen selectively, targeting leaves and cobbles rather than the whole image, and crop to tighten frames where people or signs distract.
Lightroom and Snapseed both work well. Lightroom gives more control for batch edits, while Snapseed is handy for quick phone fixes. You do not need to HDR every shot; merging multiple exposures can be useful for extreme dynamic range, but on many street scenes it looks fake and takes extra time.
Practical travel tips for fall photography in Boston
Small logistical moves save time. Arrive 30 to 60 minutes before golden hour so you can walk into position, set up, and get a few test shots. Carry an extra battery and a spare memory card since cold mornings drain batteries faster. Wear comfortable shoes and layers for chilly starts, and use the T where possible; Park Street, Forest Hills, and Charles slash MGH are common access points.
Be mindful in residential areas like Beacon Hill: keep noise down, do not block entrances, and do not leave gear unattended on benches or docks. If you plan a commercial shoot with big lights or to block a street, check permits first. For simple travel photography you are usually fine, but a permit saves trouble for larger setups.
Calm conclusion and next step
Boston in fall can give strong photos if you match your goals to the week, the light, and a short gear list. Decide whether you want wide city scenes, intimate leaf details, or reflections, then choose lenses and a schedule to match. Pick one neighborhood per session, shoot in the hour around sunrise or sunset, and leave time to walk and wait for good gaps in the crowd. Save your best images and make small edits for warmth and clarity. Bookmark a local foliage tracker and map transit stops before you go so you spend more time shooting and less time hunting for the next frame.